
DaamDesk v0.30.0 is a self-hosted WordPress plugin for managing customer records, products and services, quotations, orders, invoices, payments, and customer support workflows.
What is included in v0.30.0?
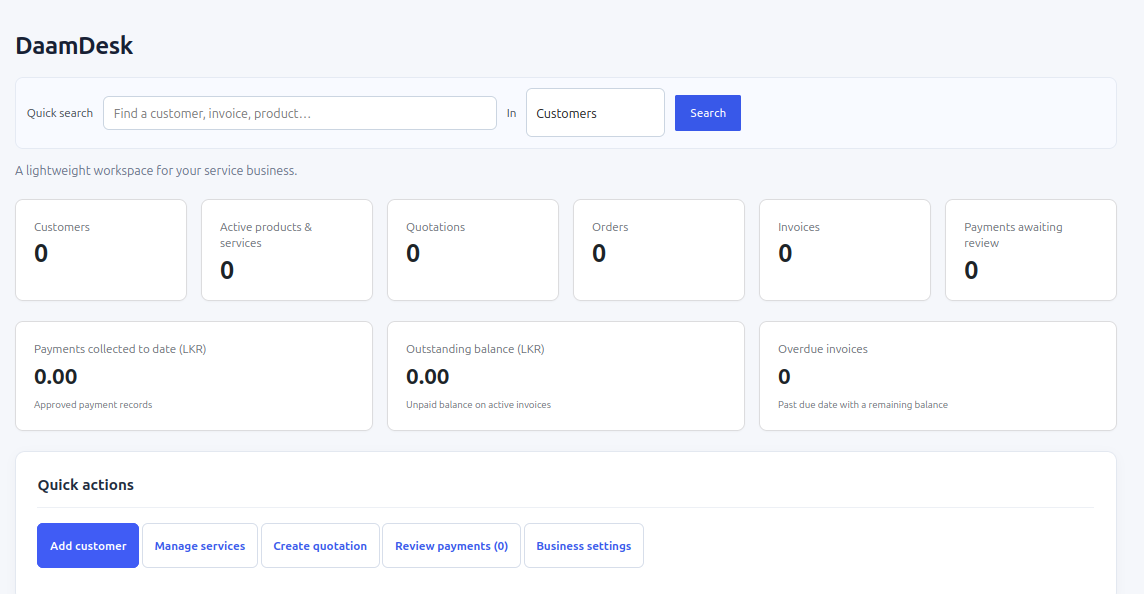
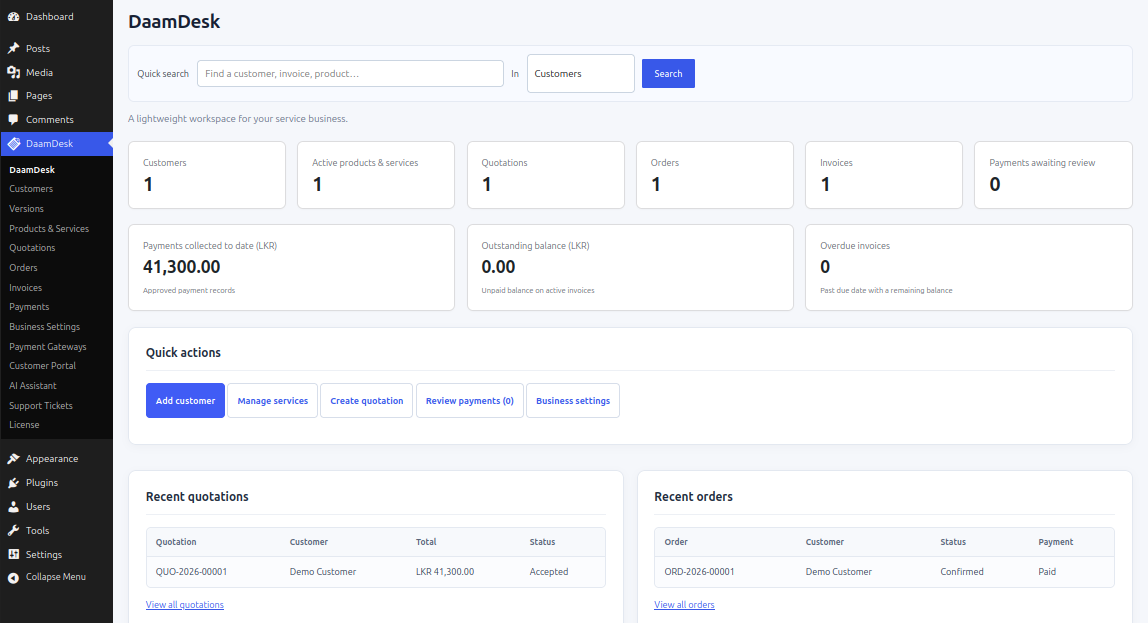
- A dashboard with business and billing summaries.
- Customer records and a product/service catalogue.
- Quotations, orders, invoices, and payment records.
- Business settings and PayHere/PayPal gateway settings.
- A customer portal for sign-in, invoices, quotations, and available payment actions.
- AI Assistant powered by Google Gemini.
- Support tickets and ticket conversations.
- Software activation and update checks.
Recommended setup order
- Confirm WordPress and PHP meet the plugin requirements: WordPress 6.2 or later and PHP 7.4 or later, according to the plugin header/readme.
- Back up the WordPress files and database.
- Install and activate DaamDesk.
- Open DaamDesk → Business Settings and configure the business identity and billing defaults.
- Add customer records and products/services.
- Create a test quotation, review the order/invoice workflow, and test payment methods in a safe test environment.
- Configure the Customer Portal and publish a page containing [businessdesk_portal].
- Activate DaamDesk before using the software, then configure AI and support settings if needed.
Before you begin
Activate DaamDesk before you start using the software. Follow the Software activation guide and confirm that the status shows the activation is successful.
Screenshots from DaamDesk
These reference images show the interface described in this guide. Labels may vary slightly between plugin versions.
Release-specific note
DaamDesk capabilities and settings can vary by version. This guide reflects DaamDesk v0.30.0 and the supplied interface screenshots. If a menu or option differs in your installation, check the release notes or contact support.
Thank you for your feedback. You can also send us details.